fbpx

FULL OPTIONS ALL-IN-ONE SOUND CARD FOR VOICE APP

  • Experiment with the Google AYI assistant (100% pin to pin compatible) and Alexa.
  • Open source assitant such as ADRIAN, SNIPS and others projects
  • Any portable radio project where you need built in speaker
  • Power directly your old speaker
  • No extra power supply required

Built-in speakers and microphone

Here shown on a Raspberry Pi 3

Connect to any old passive speakers

Thanks to the 2x5W built-in amp, perfect for a voice assistant setup. 

Trigger the onboard red bascklight button

Connect an external external led light or button using the screw terminal

LET'S GET TECHNICAL

1. Microphone I2S High sensitivity on board

2. 2x5w Stereo Amplification 2 onboard speaker included

3. DAC I2s 24-bit audio with studio sampling quality

4. Line out stereo 3.5mm jack

5. Onboard yellow button, 1 status red led

6. Extention screw terminal for external push button, external led

7. Extention screw terminal for external speakers (2 to 8 ohm)

8. Soldered Long female header 2×20 (NO soldering required) Compatible with Raspberry Pi 3, 2, B+, A+, and Zero

LET'S INSTALL IT

Soldering

No soldering required

For Raspian users

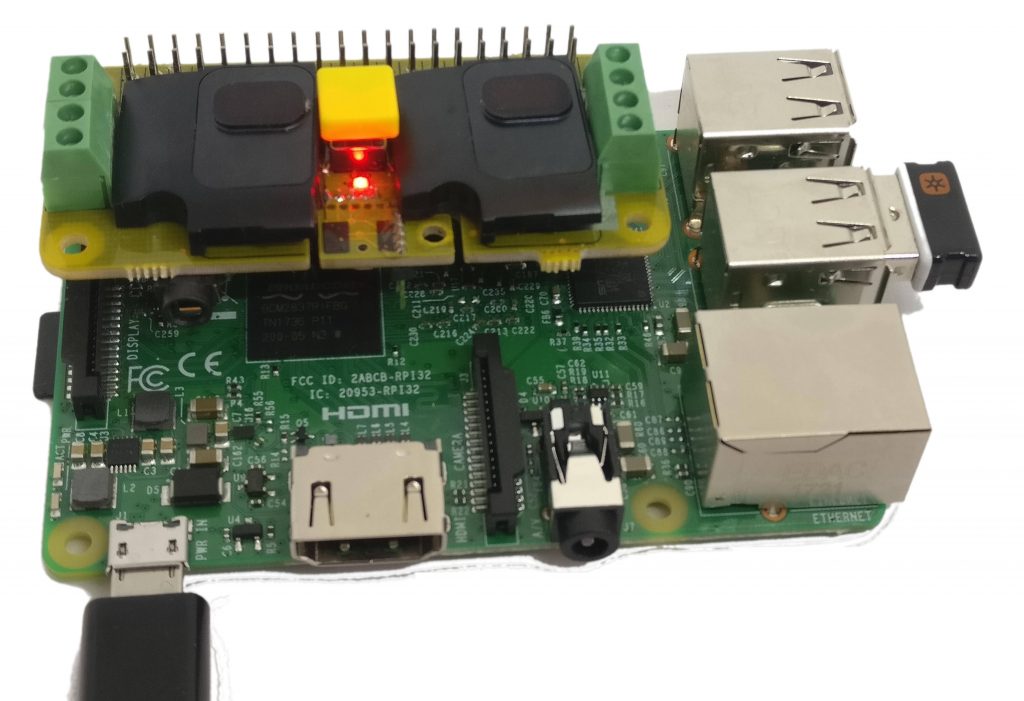
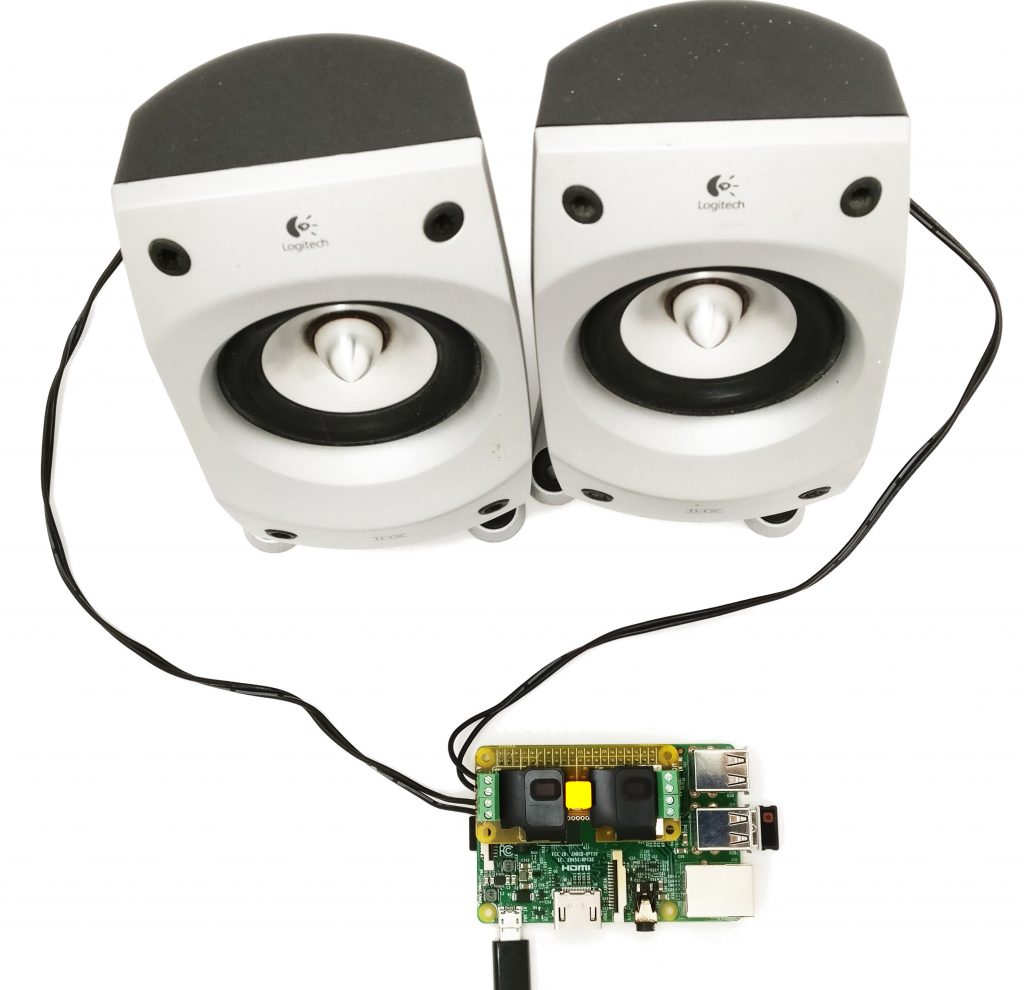
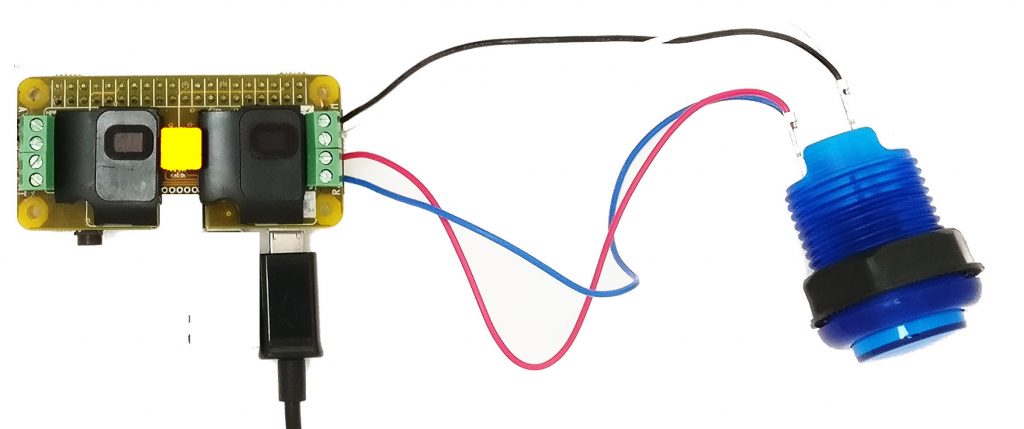
-Insert your Rapsberry Pi Shield in your Raspberry pI then turn it on

-Open a terminal (yes the black window thing) and type this to download the bash file and run it:

sudo wget -O mic mic.raspiaudio.com

sudo bash mic

-Say yes for the reboot

-On the next reboot you  have to run the test to finish the installation (it is an ALSA oddness):

sudo wget -O test test.raspiaudio.com

sudo bash test

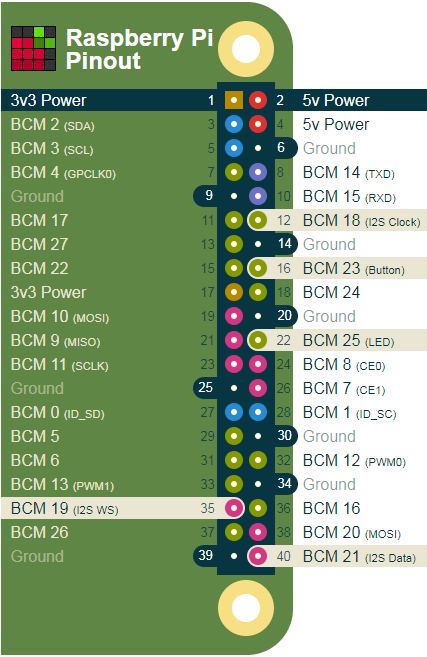
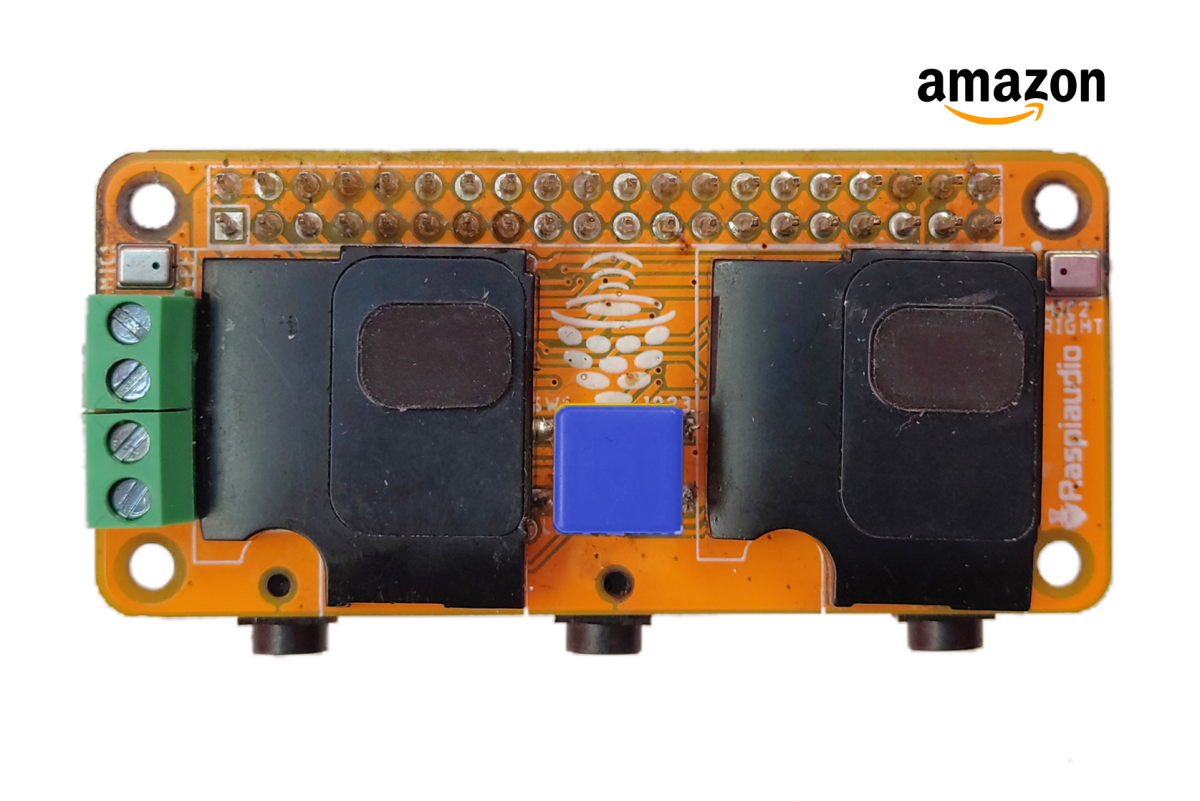
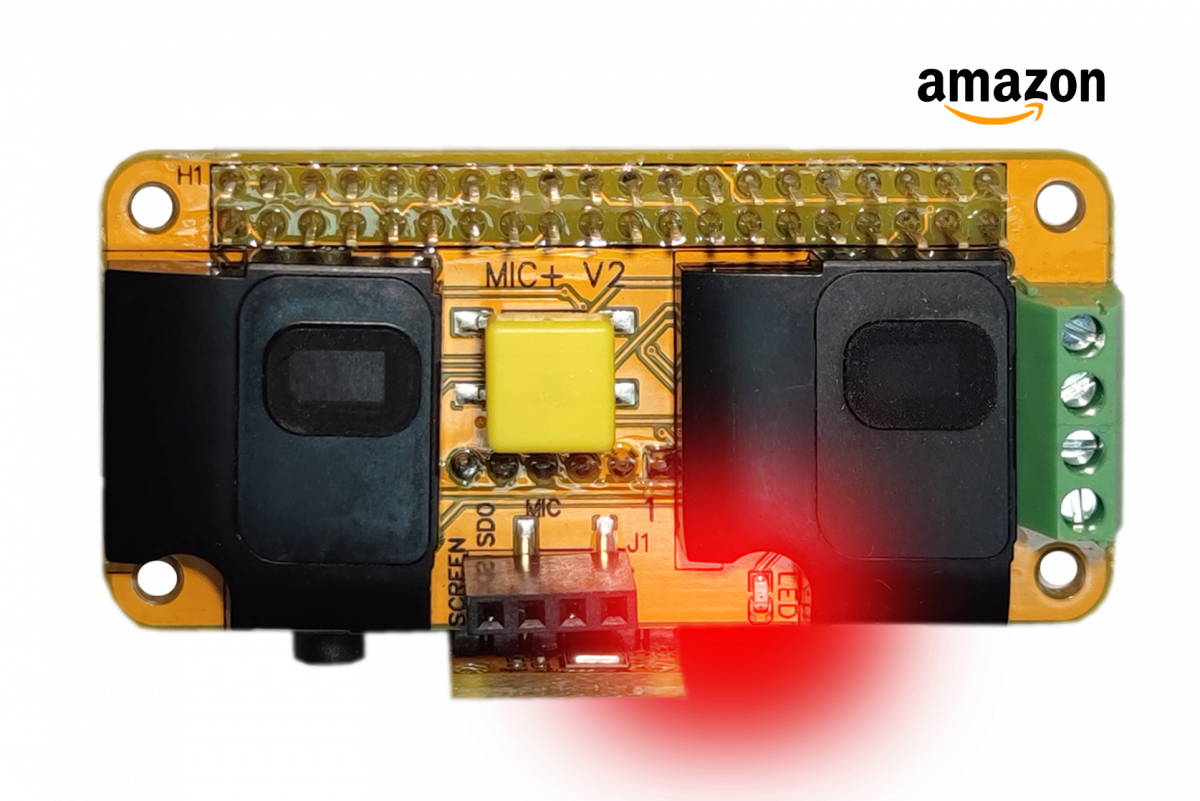
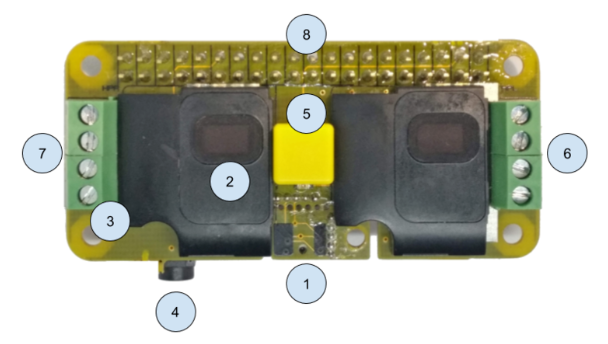
Push the onboard button, you should hear “Front Left” “front Right” then the recorded sequence by the microphone.

It should sound like this:

If the volume is too low y


You can adjust the gain of the microphone by typing:

alsamixer

A gain at 50 is a good start:

cap.png

You can also use the desktop volume control in Preferences-Audio Devices Setting-  Then click on “Select Control” and check “Master” and “Mic”:

Here is the script source for the test

source for mic and sound (with mic gain control)


For SNIPS (snips.ai)

I made this is a tutorial to make a simple vocal assistant that could work offline, meaning all the request you do will be processed locally in your home. To do this we will be using Snips, it is a French startup that has the interesting advantage to work offline.

You can download it here

or find the instructable here.

From the official Google AIY image:

-Downlowad the official Google AIY image here 

-Write the image to an SD card using a card writing utility (Etcher.io is a popular tool for this)

-Insert your Rapsberry Pi Audio Shield in your Raspberry pI then turn it on

-Open a terminal (yes the black windows thing) and type:

sudo wget -O - aiy.raspiaudio.com | bash

-run the audio test “Check audio” on your desktop, reboot to allow volume control on the desktop

-Follow this guide to setup the credential to run Google’s examples here

For the references the script souce is here

Try the Alexa voice assistant:


-Install a fresh version of RASPBIAN STRETCH WITH DESKTOP and follow the setup explain in the first section above “For raspbian user”

-Then follow this good instructable until the end

-You now have to setup the sound output type to edit:

sudo nano /etc/opt/AlexaPi/config.yaml 

be sure that you have the following: sound section:

sound:
  # Name of your microphone device: "raspberrypi"
  # leave empty for default
  input_device: ""

  playback_handler: "vlc"

  # you can go here with alsa, pulse or others
  # keep blank for the best audio output selected by the underlying code
  output: "alsa"
  # output device: "raspberrypi"
  # currently supports ALSA only
  output_device: ""

  # if left empty, won't be passed to the underlying library / command if it su$
  # if it doesn't 100% will be used
  default_volume: 80

  # Means the same as above, but is used for media (playing music for example)
  # Leave blank to use the same setting as for speech content
  media_output:
  media_output_device:
  media_default_volume:

  # Some device: "raspberrypi"
  # value is the number of seconds of silence to pad the beginning and end of t$
  # the sox handler supports this configuration option.
  playback_padding: 0

Also change the GPIO setting for the trigger button and led:

  raspberrypi:
    # GPIO Pin with button connected
    button: 23
    # GPIO Pin for the playback/activity light
    plb_light: 25
    # GPIO Pin for the recording light
    rec_light: 25

Then reboot, if you push on the button you can ask an important question to Alexa:


Following GPIOs are used by RaspiAudio:

-GPIO21 (pin 40)

-GPIO19 (pin 35)

-GPIO18 (pin 12)

-Ground pin (connect at least one : pin 6, 9, 14, 20, 25, 30, 34, 39)

-3.3v pin (connect at least one: : pin 1, 17)

All others pin are free to use in your projects!

Check the pinout at pinoutxyz:

Frequently seen products: